| This tutorial will help you learn how to place lights upon candles and make it look realistic. First load your map with your candle in it . Remember if you want a candle placed upon a desk , table , etc you have to have to go into the candle properties and select "true" in the stackable field. As you can see in the picture below, we have a candelabra on a desk: 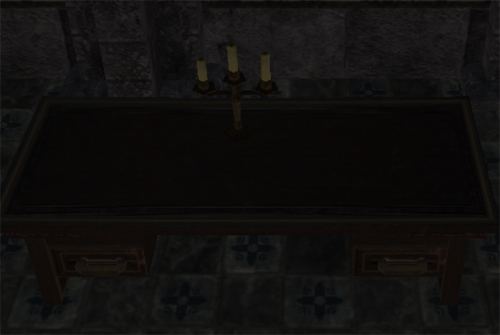
Go to placed objects under the blueprints tab and select it 
Select the candle flame blueprint. Clicking on it will bring up a yellow blocky item, that is the blueprint for the candle flame. 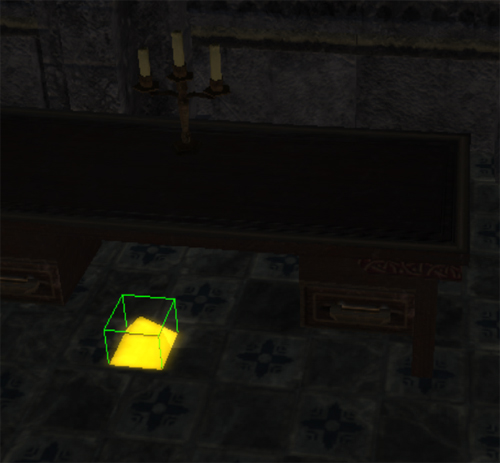
Raise the yellow block to where you want it, (holding down the Alt + left clicking while moving the mouse up or down will raise or lower it to the desired height). It is important to place the bottom of the block near the top of the candle, also try to center the uppermost middle of the block with the top center of the candle (that is where the flame will show up). 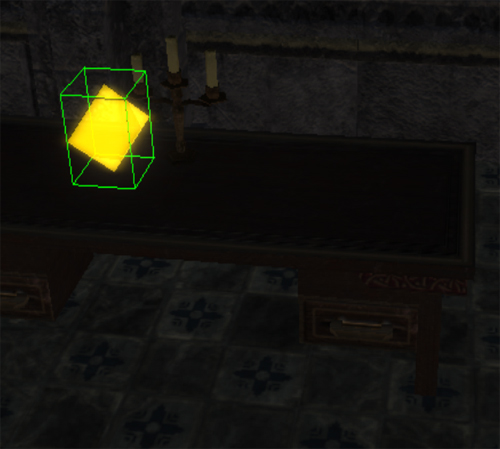
Once you have the yellow block placed correctly go to the show/hide tab and turn off placed effects helper . Now you should see something like the picture below in your toolset. 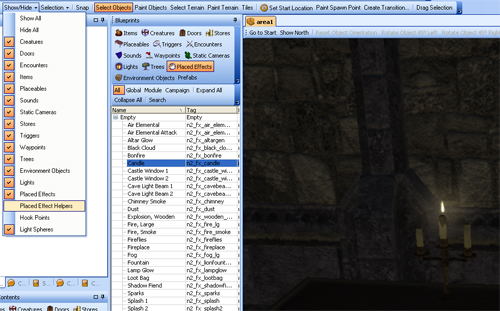
Now for adding a light blueprint to illuminate the room better. Select lights in the blueprints tab. 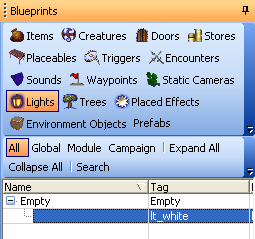
Select the desired light, there is only one in the pre-sale toolset to choose from. This will bring up a white block of light blueprint, raise it just like you did the candle flame (Alt + left click) to where you rested your flame blueprint on top of the candle. 
Change flicker from false to true and select a smaller range for the candle, I chose 2 as my range . You can also change the color of the flame and other stuff on the properties menu. Editor note: Personal choice but try changing the flicker rate to 0.1. 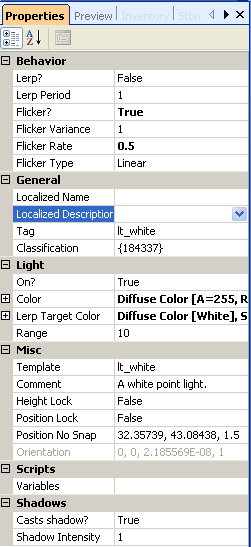
Now go to the show/hide tab near the top left and select light and light spheres to turn them off (This is the closest way to a preview function I know of in the toolset). 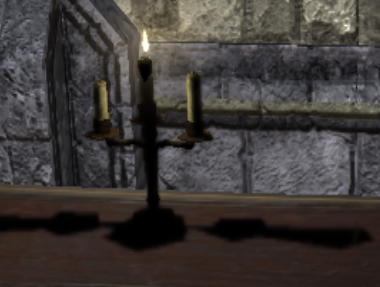
That is how to place a flame and light blueprint on top of a candle placeable. |