| After seeing a few people having problems with placing bridges I thought I would give it a go and see what the fuss was about. First thing I did was to create two raised areas like so: 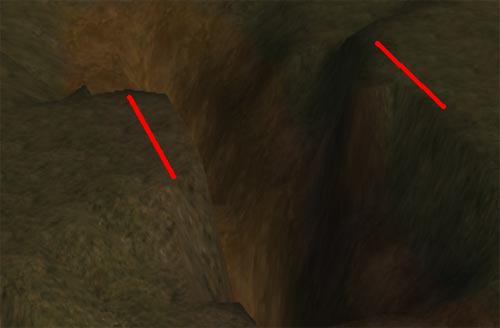
The red lines show where our bridge placeable will be placed. All you have to do at this stage is to make sure that the two raised areas are level with each other (good use of the Flatten, Eyedropper tools here). Now we can add our bridge placeable, so go to your Blueprints, then Placeables, click on the plus sign of Building Props and then select bridge. You may need to rotate the bridge so that the two lower edges are lined up with the two edges of the raised areas (the two red lines): 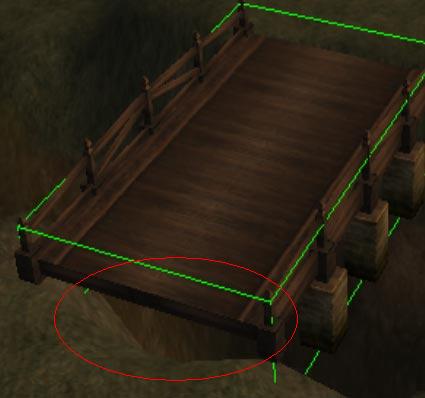
You will see in the picture above that the terrain does not meet the whole edge of the bridge (circled in red) and players will not be able to use the bridge. The next step is to raise the terrain in that area so that the whole edge has terrain touching it, like so: 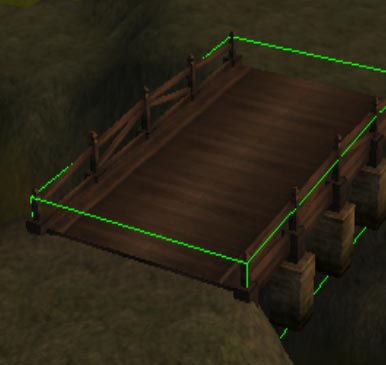
Notice I now have the whole edge "touched" by the terrain. Make sure that you do this for the other side as well. Also you can see how much "lip" I have showing: 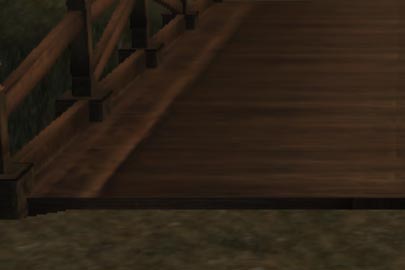
The only properties that I would change on the bridge is the Height and Position Lock to "True" and then bake the area. You should now find that your player/NPC can walk on the bridge 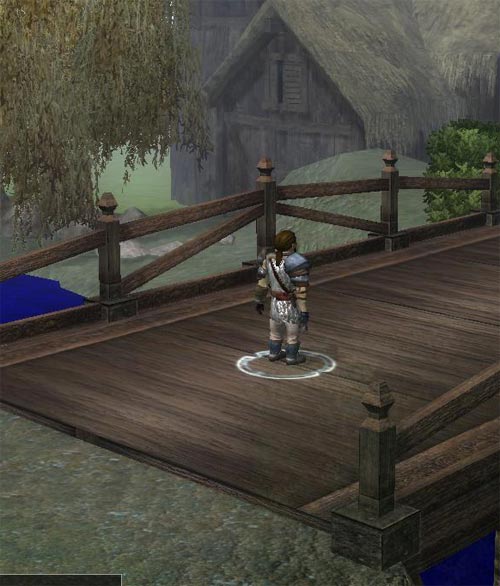
|


