| To add a placeable in your area you need to click on the Blueprints tab and then click on the Placeable button: 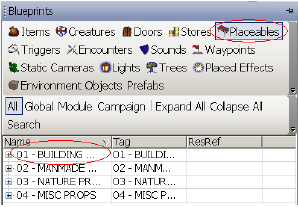
Click on the '+' sign by the first category - buildings. A list of the different buildings you can place will appear, now click on an item. For this example I am going to select 'Church' from this list: 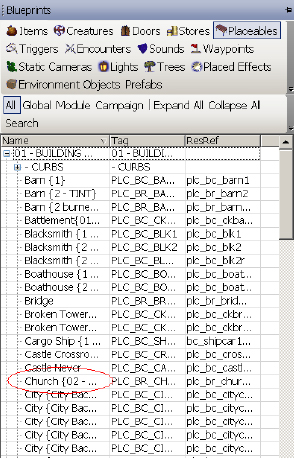
When you select 'Church', you can then left click anywhere in the preview area to place down the church. 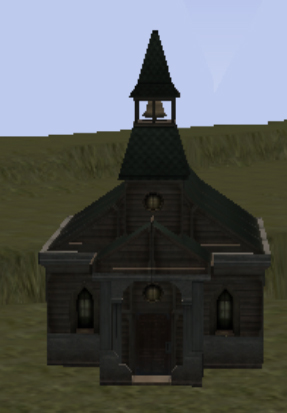
Now click on 'Select Objects' once you've placed it to get it off your cursor (can also click on the Esc key): 
Rotate Objects
If you do not like the way an object is facing say a church in our example, you can rotate it. Select the church and a green box should appear around it like so: 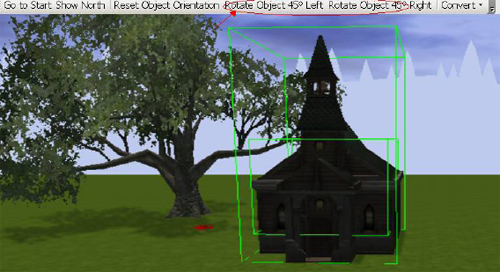
Notice there is now a toolbar with rotate options just above the window. You can click on these buttons to rotate the church through 45 degree increments. To have greater control on the rotation: (Please note that you cannot rotate trees), Mouse: Select the object(s) then hold down shift + right click drag, Keyboard: Ctrl+Left/Right Arrow Object properties Whilst the church is select you can look at the properties of it in the properties pane: 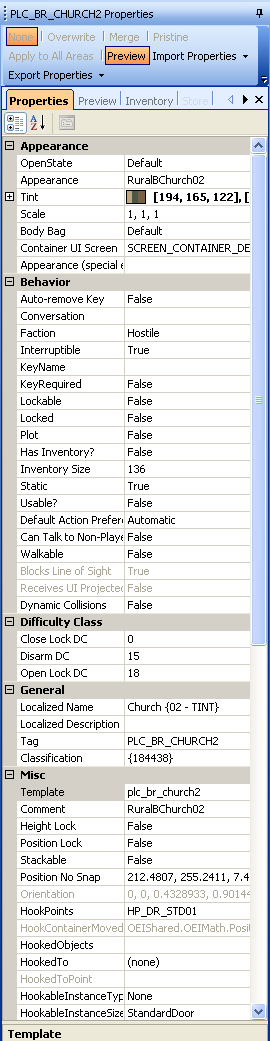
One of the exciting things about the Neverwinter Nights 2 Toolset is our ability to paint objects with different colours (called 'Tinting'). Click on the '+' next to Tint and you'll see there are three colours you can customise. To change a colour, select it and click the drop down arrow that appears: 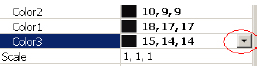
A window will appear letting you choose whatever colour you like. Have a play around and then look at how your church looks. We then have "Scale", click on the text field to the right that currently has "1, 1, 1" in it. When you click on this field, you'll see a flashing cursor prompting you to input new values for the placeable's scale. This scale of this placeable is currently 1 x width, 1 x length, and 1 x height. Try typing in "1.5, 1.5, 1.5" Press Enter when done and watch the church increases 50% in every dimension. Ignore the 'Body Bag' and other options for now, they're not applicable.
Three True/False options under the 'Behavior' tab are important to get to grips with, though. These are 'Static', 'Usable' and 'Plot': 'Static' means the object won't do anything whatsoever - it's just decoration. Our church is static, so this is set to 'True' 'Usable' means that the player can interact with it some way - like have a conversation, bash it or open it. This is set to 'False' for the church (as I mentioned before, the door to the church is usable, and we'll cover that in a moment). 'Plot' guarantees that the object will never be destroyed - so set this to true, just to be 100% sure the players do not try and destroy it. All the other options do not really apply to the building placeable, but there are other placeables under blueprints that do use these options. TIP
Environmental Objects: These objects are decorative props that do not interact with creatures in any way. While these objects are non-interactive and are not even solid with respect to other creatures, they take very little CPU power compared to other, dynamic objects. If you wish to fill an area with lots of props and would like to make those props completely cosmetic, you can convert them to environmental objects to streamline the performance of your level. To do this select your placeable and then right click and then left click on Convert and then again on Placeables to Environment Objects: 
You can also see from the above picture that you can reverse this by clicking on the Environment Objects to Placeables option. Containers To add a container, click on the plus sign of Manmade Props and then containers: 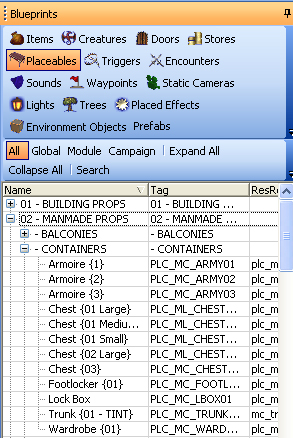
Left Click on say Chest {01 Medium} (Note: The player(s) will not see whatever is written in between the two curly brackets, these are only seen within the toolset. You can add your own to your own items/placeables and use them as a note (i.e. Strong Goblin)) and add it to your area (just like the church in the above example). Again select the Chest and you will then be able to see it's properties. Containers are placeables that have inventory and can be used by a player to access the items and use as storage space. In the Properties tab, make sure that the following fields are set as follows:
Inventory Size > 1, though 136 is average for a chest
Like so: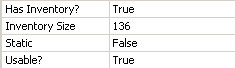
To change any of these properties, just click on the field next to the name. These fields set the placeable as being capable of holding items and usable by creatures. A player can now use this object in the game and take items from this placeable (as well as store them). If this placeable is destroyed, it will drop any items it held. To add items to a container click here.
|