| In this tutorial we are going to create a sign outside a Blacksmiths so that when a player hovers their cursor over the sign it will let them now the name of the Blacksmiths. I am going to assume you know how to create an area and also how to paint a building (in this case a Blacksmith's): 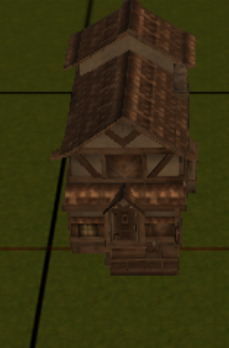
Now we need to paint the sign itself so go to your Blueprint - Placeables - Manmade props and then choose the Blacksmith Sign: 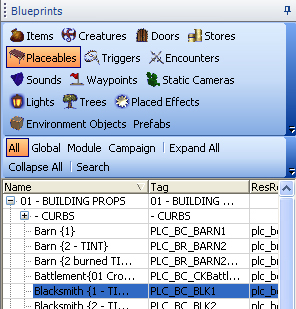
Once we have selected the sign by left clicking on it then we can move our cursor to the Area preview pane and you will see the sign attached to the cursor. Left click in the area where you want your sign to go (Click here to know how to move the object sign) and it should look similar to this: 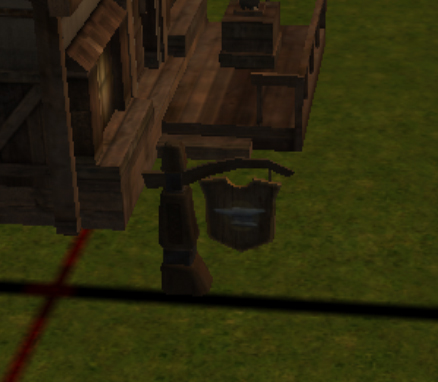
Now that we have our sign in position, we need to change some of its properties so that the player can get the name of the shop/sign. To do this we need to select the placeable sign so that it is highlighted in green (click on the Select Object filter and then left click the sign). Look at the properties and they will need to be the same as this: 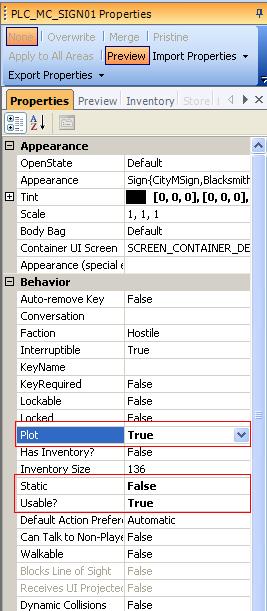
As you can see I have changed the Plot to True, Static to False and Usable to True. To change these just left click on each one and then click on the downward arrow and choose True/False from the dropdown menu. Now if we save this and test it by running the module you will find that the sign is called "Sign, Blacksmith Shop", not very imaginative is it. To change this look for a field in the properties called Localized Name under General: 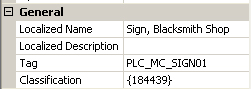
Delete the name Sign, Blacksmith Shop and then add your own (in this example I will use Thunderhammer Smithy Shop). Run the module and you should see something like this: 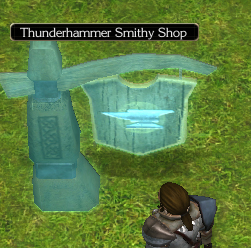
There is one problem with this and you will have to test this yourself is that you can run straight through the sign. To stop this change the Dynamic Collisions to True and the player will be forced to move around the sign |