| In the "Triggers" tab of the Blueprints window there is a special trigger called a Walkmesh Cutter. 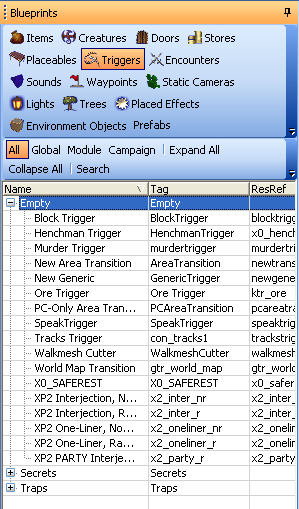
This special trigger displays in blue and is used to more finely control where a character can walk. It's usually best to place these with the camera directly overhead. In this example we are going to create a small mound and then make it so that a player cannot walk on it. 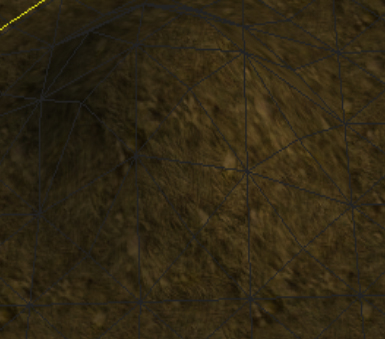
As you can see in the above picture the mound is walkable, so instead of using the Non Walk button we can use the Walkmesh Trigger instead. To use the walkmesh cutter to make the mound non-walkable, click on the 'Blueprints' tab and then the 'Triggers' button and then click on the '+' next to Empty and you will see the Walkmesh Trigger in the list. Click on it and then move your cursor over to the area preview pane (Make sure your filters toolbar has Paint Objects button highlighted). Do not forget it is best to view the mound from above and then left click your first point and then move your cursor to the second point and click and continue this process till you have the trigger covering the whole of the mound. As you are clicking you will notice that the toolset will automatically close the trigger with the first and last point you click. 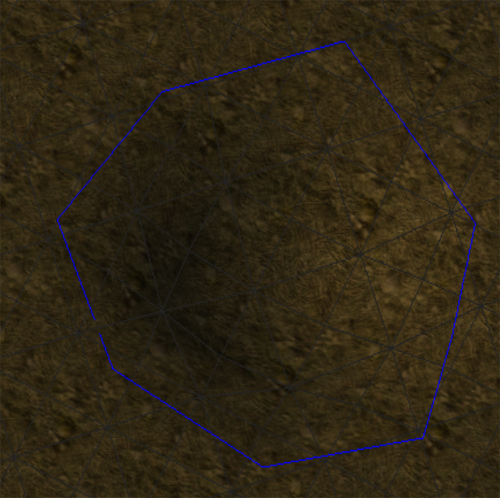
Once you are finished you can select the object by clicking on the Select Object button and then left click on your trigger and it will be highlighted in green. You can then move your trigger or delete it. You will then need to "bake" the area and when that process is finished and you click on the Baked button in the toolbar you will see a white line surrounding the mound like a placeable when it is baked. |