| For this tutorial I am going to assume that you know how to navigate around the toolset (see here) and how to move around the preview area (see here). I am also going to assume that you know how to create an area (see here) and that you know how to carve your terrain (see here).
Once you have an idea of the area you want to make, start thinking about the textures that are going to be used. In particular the global texture, to change the global texture, click on the Terrain tab in the Blueprint pane and then click on Texturing: 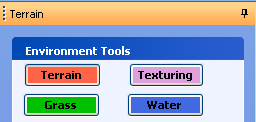
After clicking on the Texturing, you will see in the middle of the Terrain pane a section called Terrain Texturing: 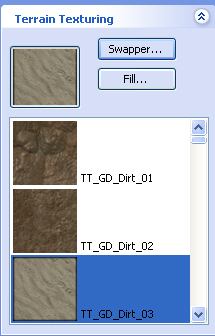
Left click on the terrain you want to be the "global terrain" and then click on the Fill button. You will then be presented with a warning "Are you sure you want to fill the entire area?". Click OK and the textures will be swapped. 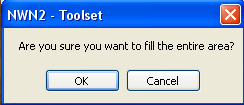
The Swapper tool is a nice feature in that you can swap one texture for another, but please be aware that it works on a whole area basis. To use the swapper tool click on the swapper tool button and you will see the following screen: 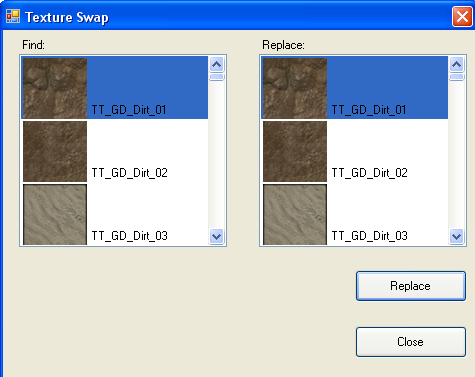
As you can see we have two sections: On the left hand side we have the find texture palette and this is where we tell the toolset what texture we want to replace. On the right we have the Replace palette where we inform the toolset, which texture we want instead. Again, this is an area wide change. Before you start using texture it is best to have an idea of what textures you are going to use before hand. The reason being is that each megatile (4 x 4 tiles) can only have 6 different textures. So before you start go to an unwanted part of your area and test the different textures to see what you like. Do not forget that the swapper will be an invaluable tool here. That is fine but how do I "paint" a texture. Okay, say I want to make a well used trade route. Start by lowering the terrain and get it to look something like this: 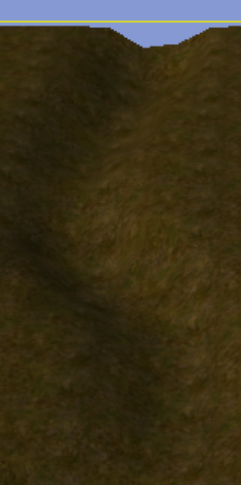
I used the lower terrain tool (Inner size 6, Outer size 2, with 25% pressure). Now I want to add a well worn track look so whilst in the terrain pane I choose the colour button in the Terrain Tools pane: 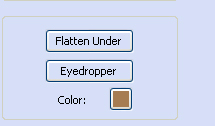
I chose the light brown warm colour on the right hand side of the colour swatch: 
I then paint the colour in the terrain that I previously lowered: 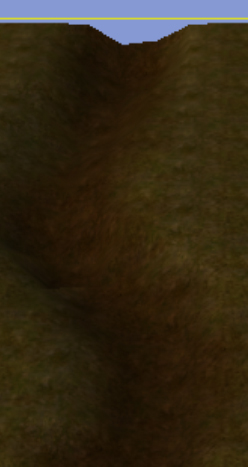
Then I hit the texture button and choose the TT_GD_Dirt_05 texture (to do this just scroll down the list in the Terrain Texturing pane and left click on the texture you want): 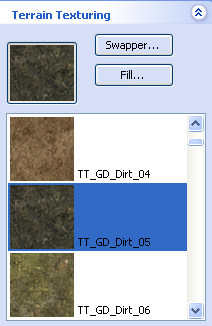
Now paint the dirt over the light brown colour, that we previously painted: 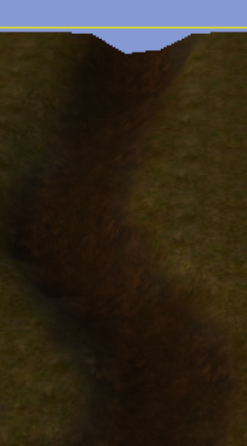
Now I want to add an edge to my road so I set the inner brush size to 2 and the outer to 1 and choose the TT_GD_Dirt_07 texture and paint along the two edges of the road to get the following effect: 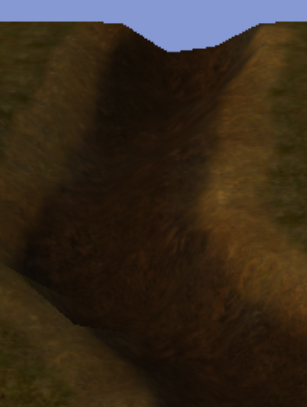
Another tool that is available that we have not mentioned yet is the Selection (Advanced) tab: 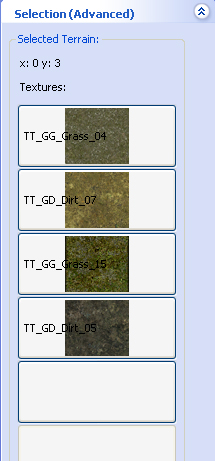
When you select a tile (In the Filters toolbar, click on select terrain) you will see all the textures that have been applied to the tile. You can left click on any of these texture and it will then become your current texture that you can then apply to the terrain. The order of the textures in the list has no relevance. One thing to keep an eye one is stretched textures, which normally happens when you have steep raised areas.
Do not underestimate the importance of the colour black as this can be used to create shadows within cliff faces or nooks and crannies. Also if you say set the inner brush to 6 and outer to 2 for example and the pressure to about 10% you get a more worn look to the texture instead of it being bright and not subject to weather.
Tip from Renzatic of the Bioware forums
What I do is go for a terraced effect. I'll set the flatten tool to the max height I want the cliff to be (say 25), knock out the shape I want it to follow, then start adjusting my height and brush radius for the ledges on the way down (for example, start at 25, then go down to 21, then 18, and so on and so on). You'll want to leave gaps at certain heights, too. That way it doesn't look like a giant set of steps. After I'm done with that, I'll go ahead and start texturing. It's easier to do at this point since your edges are still well defined and you can see what you're painting. Finally I'll use the raise/lower and smooth tool to blend it all together. After that all that's left is tweaking to taste. I use Grass09 as the base, and Cliff04 at 65% for the rock face. Then I dabbed Rocky02 at 15-20% around to brighten up some of the rocks and keep everything from looking totally uniform. Tip from Bloodsong of the Bioware forums You know the Swapper button in the Terrain Texturing mode will search for a texture in your area and replace it with another one, you can also do this on a local scale, tile by tile.
1: Select a Tile
--go into select terrain mode, and click on a square.
2: Select a Texture Within It
--look down at the Selection(Advanced) palette, where you see the six slots per tile and the textures you have painted into that tile so far. click on one so it is 'pressed' and highlighted.
3: Select a Texture to Swap In
--back up in the normal texture-selection list, click on a texture. the original texture in that tile is replaced with whatever you just clicked on. (remember, there's no undo, so be careful what you test it with!) BUG NOTE: If you painted on the tile first, and then swapped a texture with a texture you have already used... you may end up with a blank slot in the advanced texture selection buttons. When you try to paint a new texture on your tile, you'll get black. To fix it, you need to select the blank texture slot, and fill it with something. anything. Apparently, the toolset can't shuffle the texture slots to collapse them when you use the same texture twice on one tile. |