| First of all these tips are of course heavily biased by my own opinion of what looks good and what does not.
Let us begin with textures:
Textures are a wonderful thing. Because of the manner in which Obsidian has chosen to make the texture tool work; the toolset really becomes an artist's tool; mainly because you paint the textures on the terrain.
An obvious mistake many make when painting textures is not blending them, which gives the area an often flat, boring if not directly ugly look because of the abrupt change between textures.
So blend your textures! You can create amazing effects by blending textures as well. I am going to give a few examples of good and bad use of textures.
Let us begin with a small, slightly hilly area:

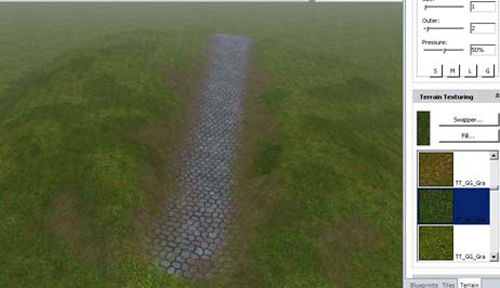
First of all I think the basic grass texture areas have when just created is 'too' green so to speak, so I am going to start by picking another grass texture to fill my area with. For this example I have chosen TT_GG_Grass_14 and then simply clicked the 'Fill' button to fill the area with this texture.
Next for this example I'll just make a small path through the small hilly area, so I am going to need a cobble texture. I am going to go with TT_GS_Cobblestone_42. I apply the stone texture with a brush pressure of 100%:
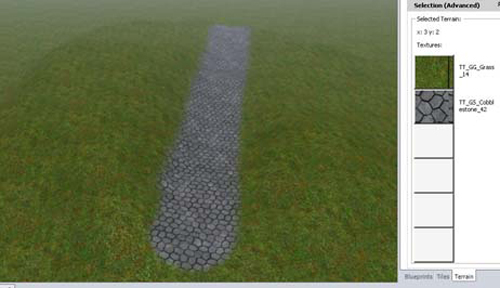
Now for some builders the result you see here would be their final result, which exactly gives that flat, boring look as mentioned earlier.
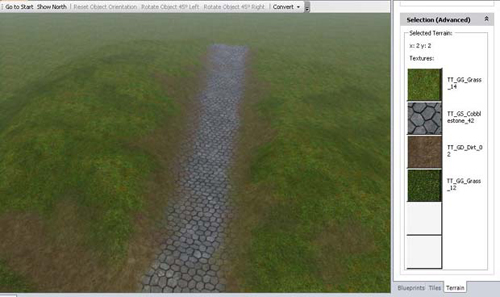
So to make the area seem less flat let us work more with the textures. Next I am going to add a dirt texture, to give the road a more natural feel.
For the dirt texture I have chosen TT_GD_Dirt02. The brush size is 1, with an outer of 1 as well. Now the blending begins so this texture has been applied at a pressure of 45 % to begin with.
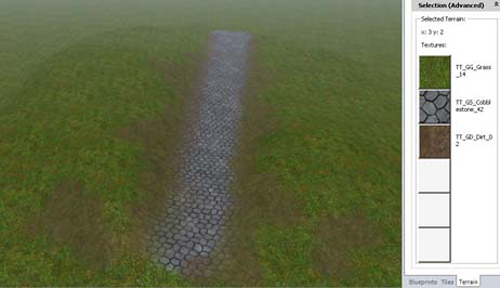
As you can see I have mainly covered up the "edge" between the grass and stone, but also added a few patches of dirt around on the grass.
So now the area is starting to look like something, however we are not finished yet. Our grass area still looks fairly flat, so what we want to do is apply some depth to the grass by using a darker grass texture.
The toolset has many different grass texture options and these all provide an option to make your grass area more realistic looking. To get a better idea of how to texture grassland it is recommended you read Phoenixus' Grassland Texturing tutorial which can be found here.
Because of the textures we need for making the road, we are limited in our amount of options for grass blending so we're going to go with a single blend texture for it in this tutorial.
For the darker grass texture I have chosen TT_GG_Grass_12, I am using it at a 75 % pressure. Add spots of new texture around on your grass following the bumps of your terrain, the "sides" of a bump would be darker than the top.
However our area looks like it has polka dots now, and as that isn't really what we are trying to create we should blend the lighter grass into the darker.
Blend the lighter grass into the darker this by reselecting your original grass texture and paint around the darker spots with a small brush, again I am using a size of 1 with an outer of 1 as well. The pressure you should vary between 35-60 % to create a good blend.
As a final touch select the dirt texture again, use a varying pressure between 35-50 % again and add a few more dirt patches around, so the grass looks worn at some places.
And that's it, now you can begin adding placeables and whatever else to your area.
Tip: As you still have two options open for adding more textures, you can try and play around with adding more touches to your grass parts by adding more grass textures, or perhaps make some small stone patches. Again see 'Phoenixus' Grassland Texturing'. |