| To be able to add water to our module, it is best if you dig a hole in the terrain or in other words lower a portion of the land (go to the terrain button and click on lower - see the terrain tutorial here if you are not sure), like so:
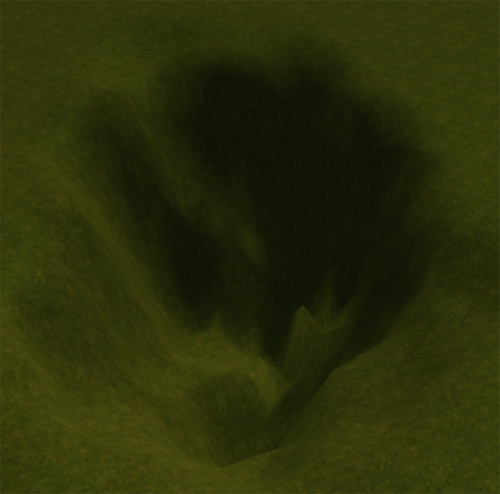
It may be best to use the smooth tool around the edges of the hole to get rid of the jagged edges. Now click on the water button: 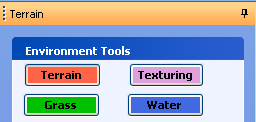
We have the same properties as far as the brush sizes are concerned: a. Paint - Paint water down with the brush. The water will paint out to the Outer setting as there is no falloff with water. While a tile is selected any changes to settings will affect all water on that tile only. If you wish to update the water on another tile just paint there and that water will conform to your new settings.
b. Erase - Erase water with the brush.
c. Eyedropper - Use the button to set the height you would like the water to be painted at. Useful for filling in a lake and finding the height just by selecting the wanted waterline.
d. Import - Import previously saved water.
e. Export - Export your favorite water settings for use on other maps.
Underneath that we have some different options: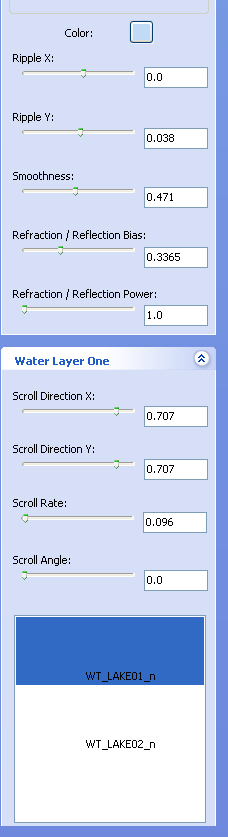
As you can see above we can click on the button beside color and we get a color palette and from here we can choose any color we want our water to be. Ripple- Adjust the level of ripple. X & Y can be independently controlled.
Smoothness - Adjust the choppiness of the water. From a violent sea to a frozen lake.
Refraction settings - Adjust the reflection level of the water.
Layers: Water has 3 composite layers, for better variation. Varying the parameters in each different layer gives your water more complexity, hence better realism. Stagnating the parameters across all 3 layers makes the water more uniform | peaceful | solid. Under each layer you have Scroll Direction X: My guess: waves | noise | competition | sine waves on the X-axis across Scroll Angle. Even water flowing at Angle 90 should have a little bit of Direction X, since no channel is perfect.
Scroll Direction Y: As above. A large number with Angle 90 makes for a great wave effect for a wide river, I found.
Scroll Rate: How fast the water is moving along Scroll Angle.
Scroll Angle: The angle at which water is traveling. 0 is no travel (a standing body). 90 travels east.
Texture: There are two textures for water. Texture 1 is a bit more active | noisy. Using 1 for all three layers hence gives you noisier water. Using 2 for all three layers gives you more placid | broad | deep water. Example by Brother Amos from Bioware Boards: First, using a very large brush, I lower the terrain: 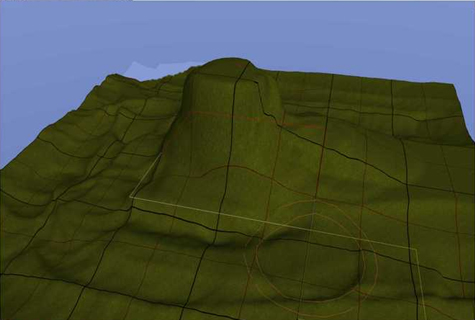
Second, I apply the cliff-texture to both the cliff faces as well as the bottom sea floor as shown (Editors Note Maybe fill the cliff texture and add the grass texture) 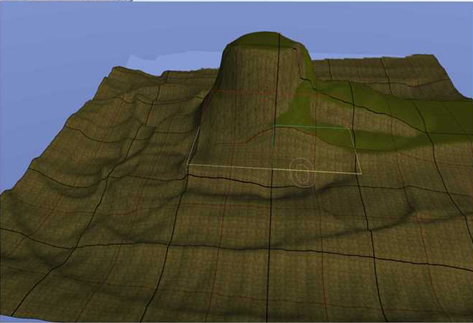
Third, I laid down the default water as shown below: 
Then I added my placables as shown 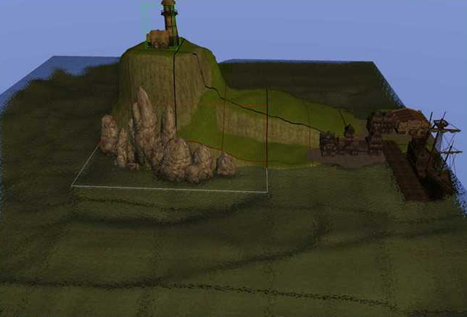
....stay with me, it still looks pretty ugly at this point.... Lastly, I selected a blue tint and started painting the sea floor, getting a darker and darker tint the farther I go away from shore as shown 
and 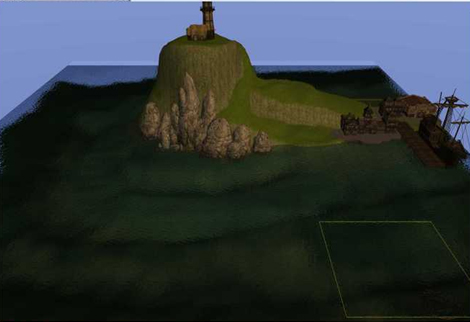
Please understand that this is a 10-minute rush job just to show the potential and overall BASIC look. Further details like algee greeens like the (rock-face placables) to match their own mossy colors. And/or beach sand textures can also be added as well as under-water details.
OH! And if while you are painting an area and you go "too heavy" - simply take a lighter tint (almost white) and it will act like an eraser, then simply try again Try this.... Create your lower terrain with a wide brush ( no need to add detailed terrain heights) Paint down the "TT_GR_Cliff_04" texture wherever water will be... Add any rocks or other "grass/weed" details as needed... Go to terrain -> color; and select a medium blue, light brush pressure ( around 15% ) and paint the bottom... Adjust tint darker ( or apply more brush pressure) and make bottom detail that way. Finishing with small brushed, heavy pressure, midnight blue areas being the deepest... Add the water layer. From above, it looks like shallow and deeper water without having to create it manually with the terrain hight. Also with the very light ( almost white) base tint of the texture itself, its easy to control the tint and makes a great looking "seafloor" for areas where docks are located ( say a busy port area of a city for example ). |