I am going to assume in this tutorial that you know how to create a new area (please click here if you do not know how).
Interior maps are created using tilesets similar to the original NWN1. There is no surface mesh painting or texturing needed since you can build everything from the included tilesets. It generally takes less time to make a good interior than it does to make a good exterior. Before we even create a new interior area, I should point out the you should create the area size at least one tile bigger than you need. For example, if your area is going to be 3 x 3 then create a new area that is at least 4 x 4. The reason being is that the walls will be against the edge of the area and you will be able to see the back them, which will not look too good. When you first create an interior area you will probably notice that the preview pane is completely black, click on the Occlusion Grid button in the toolbar and zoom out a bit. You should get something resembling the picture below (picture is taken from above): 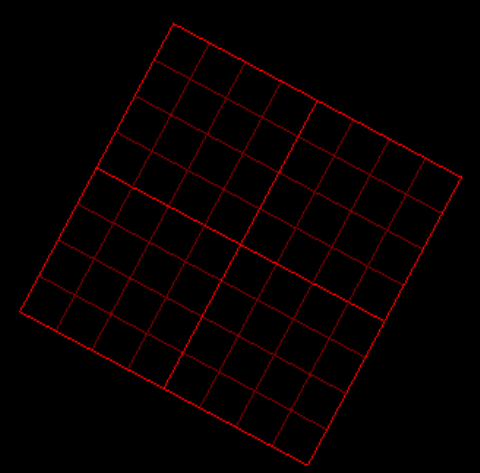
If you preview pane does not look like the above picture, i.e. it is covered in a light blue colour then make sure that FOG is deselected from your toolbar. Now that we have our canvas to work with the next thing we need to do is to pick our tile set that we are going to work with. These are located in the Blueprints pane under the "Tiles" tab and will look like this: 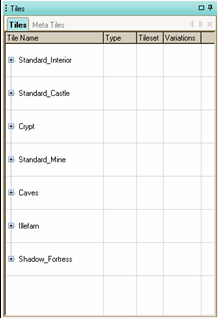
To gain access to the tiles themselves you will need to click on the plus sign: 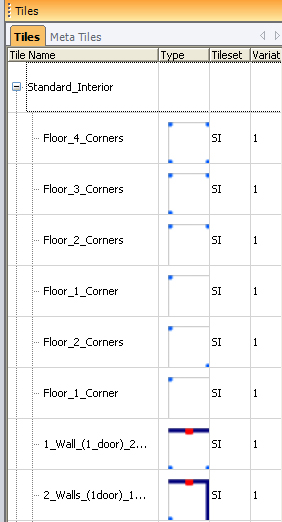
From the picture above (Column 2), you can see that some of the tiles have a dark blue line and these are solid walls, the red indicates doors and the light blue squares indicate pillars. Column 3 tells you what Tile Set you are using (from the above picture you can see SI = Standard Interior) and the 4th column lets you know how many variations there are for that particular tile. To see the variations see under the Standard Interior, look at the Hallway tile and you will see 4 variations, click on it and then move the cursor to the area preview, now use the up and down arrows. The first tile we will lay down in this tutorial is a door tile: 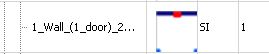
After all how else are our players going to gain entry into the area? Left click on the tile and then move the cursor over to the preview area and you will see that the tile is "attached" to the cursor. When you are happy with the tiles position then left click in the area and the tile is "painted down". If you need to rotate the tile, use the left and arrow BEFORE the tile is "painted down". 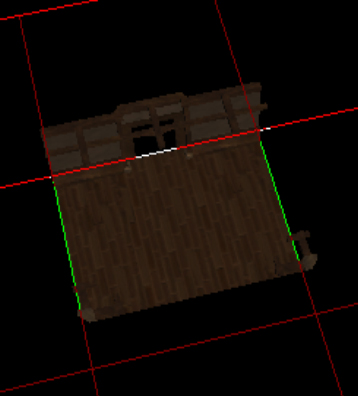
If you do not like the look of the tile you can always make sure the Tiles button is selected in the Filters bar and then click on the tile in question so that it is highlighted by a green outline. You can now hit the delete key. Now we need to select our next tile. You can see from the above picture that there are two pillars on the southern edge, we need to make sure that we choose a tile that has pillars in the north of its tile. As you can see from the following tile it has two light blue squares in the corner indicating pillars: 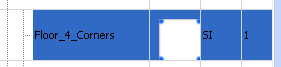
There are other tiles with pillars, but for this example I am going to use the 4 pillar tile. Select this tile and then place it to the south of the door tile. As you can see laying tiles is more like a jigsaw puzzle so carefully choose tiles to match walls/pillars. 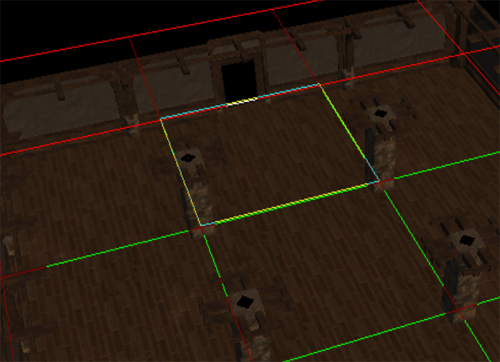
The above picture is a very simple layout, but you can see that my pillars have four corners in place. Note: If your area is foggy then you might like to change the following settings: Is Always Nights = True and change the default fog (this can be found under Day/Night Cycle Stages) colour to black.
|